Camping season is coming, it’s almost time to dewinter your RV. If this is your first dewintering season, don’t worry. We have all the tips for you in this blog post. If you still have questions after reading this one, contact our team of experts.
When to winterize the trailer or motorhome?
It is important to choose a time when the outside temperature is sufficiently above the freezing point. If the temperature is very unstable, do not risk dewinterizing your RV. Otherwise, the pipes may freeze. In the Outaouais region, the ideal time is normally the month of May.
Step 1: Inspection of the exterior of the RV.
When you take your RV out of storage or arrive at your campground for the first time in the season, it is important to check the exterior. First, remove the protective cover from your RV. (If applicable) Then take a walk outside the trailer to check for signs of damage. Cracks, leaks, sealant/sellent damage. It is important to replace any saddle that appears to be damaged to prevent water infiltration.
Here are the products we suggest for the exterior of the RV:
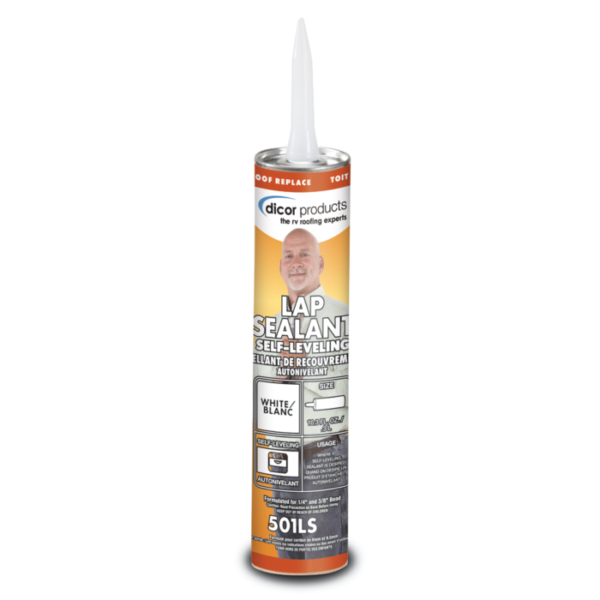
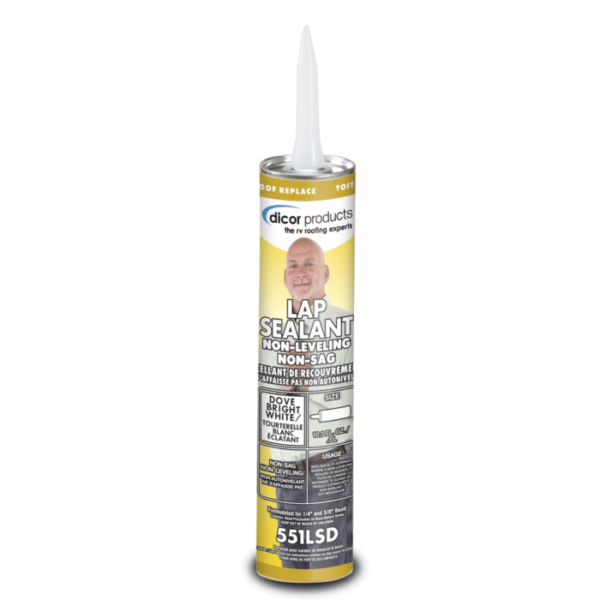
For the roof :
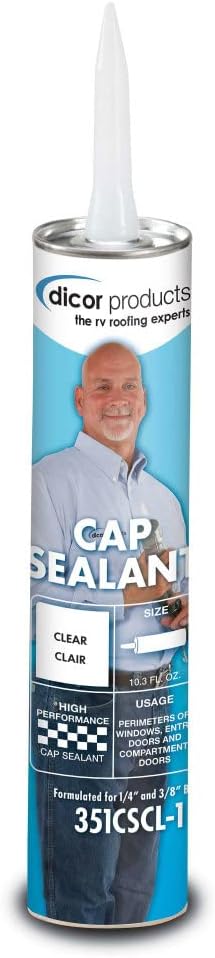
For the doors and windows :
Step 2: Check your RV’s tires.
Your recreational vehicle’s tires lose air during the winter. It is important to check the tire pressure and add air if necessary. It’s good to look at the tread too. If the trailer has spent a long time on dirt, asphalt or grass, it is possible to have flat spots on the tires. While driving, vibrations, handling difficulties or a loud noise may indicate the presence of a flat spot. In this case, the tires may need to be changed.
Step 3: Engine check
Checking your RV’s engine is an important step when winterizing. You should check the level of your engine fluids such as oil, coolant, transmission fluid, power steering fluid and windshield washer fluid. For diesel engines, it is important to check the Diesel Exhaust Fluid (DEF) level. When starting the RV, it is important to make sure that no control lights are on and that everything is working properly in the driver’s cab of the RV. If a check light comes on, take no chances and have your RV checked by a professional.
Step 4: Check your RV’s battery status
During storage, your RV battery loses charge. We advise you to check the load at the time of dewinterization. If necessary, recharge your batteries. It is important to check the fluid level of your battery in order to maintain a long service life. For your lead acid batteries, simply add distilled water. Before filling your battery, be sure to wear gloves and remove your jewelry. Wearing jewelry while working with electricity can cause burns if you are not careful.
Step 5: Inspect your RV’s propane system
Be sure to thoroughly check the hoses and seals in your propane system. Change the hoses if there are cracks and/or damage. Do business with a professional if you need to replace important parts of your ducts. Once the ride is complete, turn on your system and check each of the propane appliances.
- Make sure carbon monoxide and propane detectors are working.
Step 6: Check your RV’s generator or solar panels.
Check the generator and all its components. It is important to look for any debris or corrosion. Make sure the oil is filled to the correct level and you have fuel to run it. To prevent the components from seizing, it is advisable to run your generator several times during the winter. Run it for a few minutes to warm up and it is suggested to put it under 50% load for about 30 minutes.
In case you have solar panels, make sure there are no cracks or damage. Snow and sleet can damage solar panels during the winter. Make sure that no animals have nested under your panels.
Step 7: Test your RV’s electrical system
Be sure to test all your lights and electrical/electronics in the RV. Remember to check the leveling jacks as well as the awning. It is important to check all of your RV’s exterior lighting. If you are traveling with the RV, it is important to check the taillights as well as the turn signals. If there are any problems with exterior lights check the bulb or make any necessary repairs before your next trip.
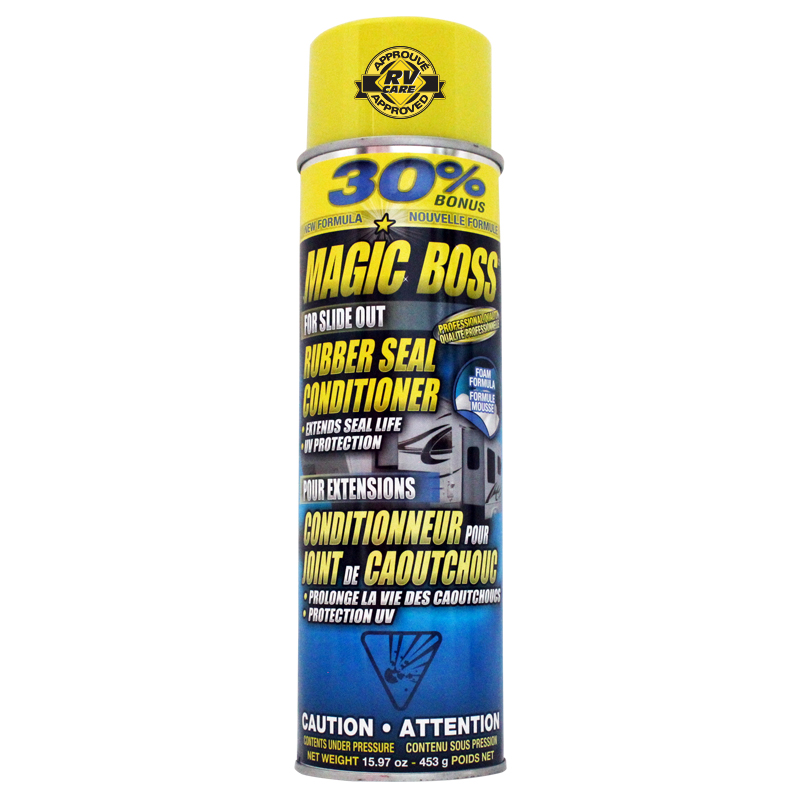
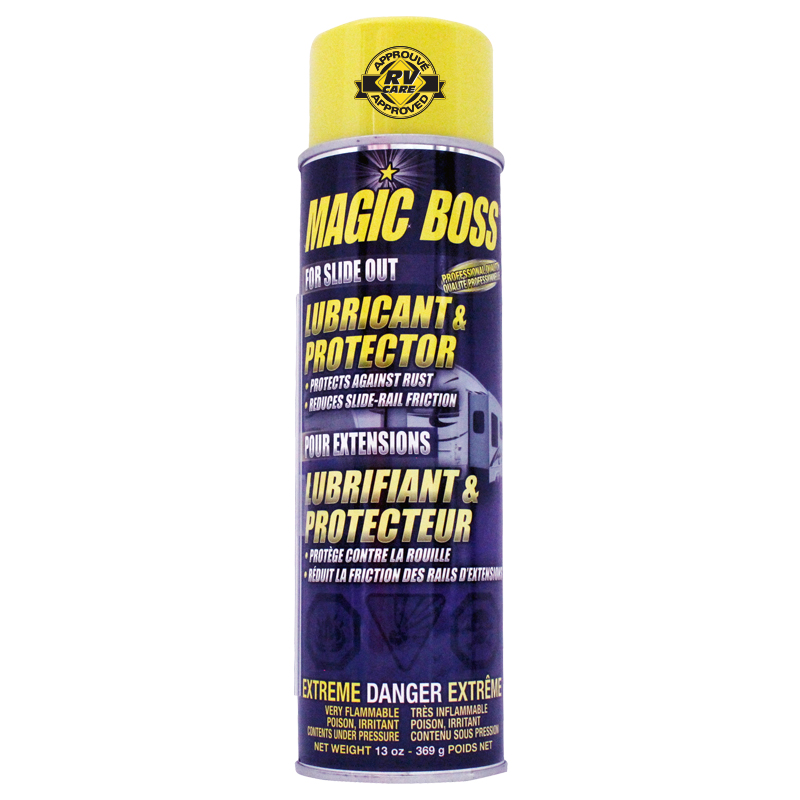
Step 8: Checking extensions
If you have extensions, be sure to check the tightness of your rubber seals. Take the time to check if you see outside light entering the RV. Make sure there are no signs of water infiltration. If so, try to find the source of the problem. The rubbers may be due for replacement if there is detachment or if they are damaged. The opening is the best time to apply lubricating products for the rubbers as well as for the slides of your extensions.
Here are the products we recommend:
Step 9: The water system
It is important to flush the water system when dewintering. Do a visual check of the entire water system to make sure there are no cracks or leaks.
When you connect the water to the RV, make sure your hot water tank is always in bypass mode (winter mode). Open the kitchen faucet and let all the antifreeze come out of the pipes. It is important to make sure that the antifreeze is out of all the water points. To do this, make sure to operate each device (hot and cold) to evacuate all the pink liquid. Make sure there is no more pink color and/or bubbles. When the water is clear, there is no more antifreeze in the water system.
You can also use the low points (low point drain) of your RV to evacuate all the antifreeze liquid.
Washing machines, dishwashers and ice makers have special dewinterizing instructions. Read the owner’s manual carefully or seek professional service if you have one of these devices in your RV.
Here are the final steps to get the hot water tank connected again:
- Replace your hot water tank cap or anode
- Reverse your valves (2 to 3) to put your water system in summer mode. (See diagram below)
Step 10: Checking filters and security devices
- Clean and check the condition of the air conditioning filter. Replace as needed. Refer to your RV’s user guide to find the filters and validate if they can be cleaned or need to be replaced.
- Clean the RV vents, including all roof vents.
- Clean and/or replace water filters. Some trailers are equipped with water filters and it is important to check the condition and replace them if necessary. Usually they need to be replaced every 3 to 6 months.
- Check batteries and status of carbon monoxide detectors | propane | smoke
- Check the expiration date of your fire extinguisher and replace it if necessary
Other recommendations for opening your RV:
Do a good spring cleaning inside and outside your RV. Here are the different products that we recommend to clean and remove certain unwanted stains on your RV:
")
")
")
")
 - Murs")
")
After completing these 10 steps, you are ready to begin your camping season. If you have any questions do not hesitate to contact us. We have a team of experts ready to answer your questions.
819-986-8099
Parts Questions : pieces1@leisuredaysrv.ca
Service questions : buckinghamservice@leisuredaysrv.ca


